
The main bus layout that saved my factory
The main bus is the difference between a factory you can expand and a factory you delete at 40 hours. Here is the spacing, the lift layout and the mistakes that cost me an entire save.
Every Satisfactory player builds the same first factory: a beautiful spaghetti monument that becomes unusable the moment you need one more item in it. The main bus fixes that. It is boring, it is grid-shaped, and it will save your save file.
§What a main bus actually is
One long spine of belts carrying your base ingredients, with production modules branching off it. You never rebuild the spine — you only ever add another module beside it.
Typical spine contents:
- Iron Plates and Iron Rods
- Copper Sheets and Wire
- Concrete
- Screws (if you have not gone full screw-free recipes yet)
- Steel Beams and Pipes once Phase 2 lands
§The layout, step by step
- 1Pick a flat-ish area and place a line of Foundations — 4m wide, at least 20 tiles long. Foundations first, always. Free-placed belts are how spaghetti is born.
- 2Reserve the middle four tiles for the bus itself. Nothing else goes there. Ever.
- 3Run your belts along that centre strip, evenly spaced one per tile so you can walk between them.
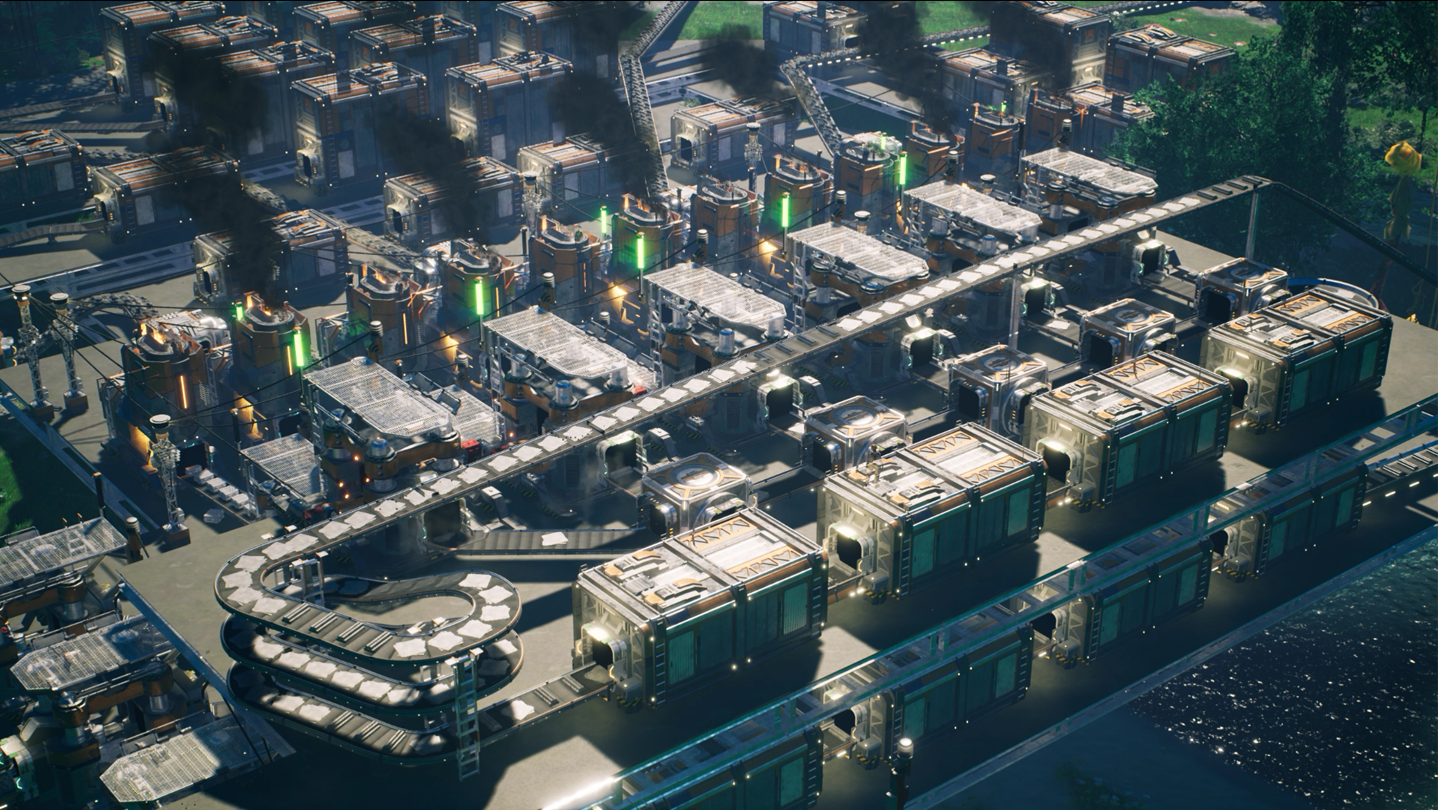
- 4Build production modules perpendicular to the bus, on both sides, each one 8 tiles deep.
- 5Leave a two-tile gap between modules for power poles, lifts and the inevitable "oops I need a Manufacturer here".
§Vertical is free real estate
The trick most people miss: stack the bus.
- Ground floor for the busiest belts.
- One floor up (4m) for secondary parts.
- Use Conveyor Lifts to pull items up into a module instead of crossing belts horizontally.
Crossing belts at the same height is what turns a clean layout into a plate of noodles. Go up instead.
§Splitters, mergers and the smart pattern
- Use Smart Splitters at each module entrance set to the specific part you want, with overflow going straight back down the bus.
- Feed each module from a splitter chain, never by cutting the bus.
- Put a Storage Container buffer at the head of every module. When production hiccups, the buffer absorbs it and you notice the problem instead of your rocket fuel line silently dying.
§Power, because you will forget
- Run a priority power switch per module. When something browns out you can isolate it instead of blacking out the whole factory.
- Put power poles on the two-tile service gaps, not inside the module.
- Overbuild generation by 50%. Every module you add eats more than you think.
§The mistakes that cost me a save
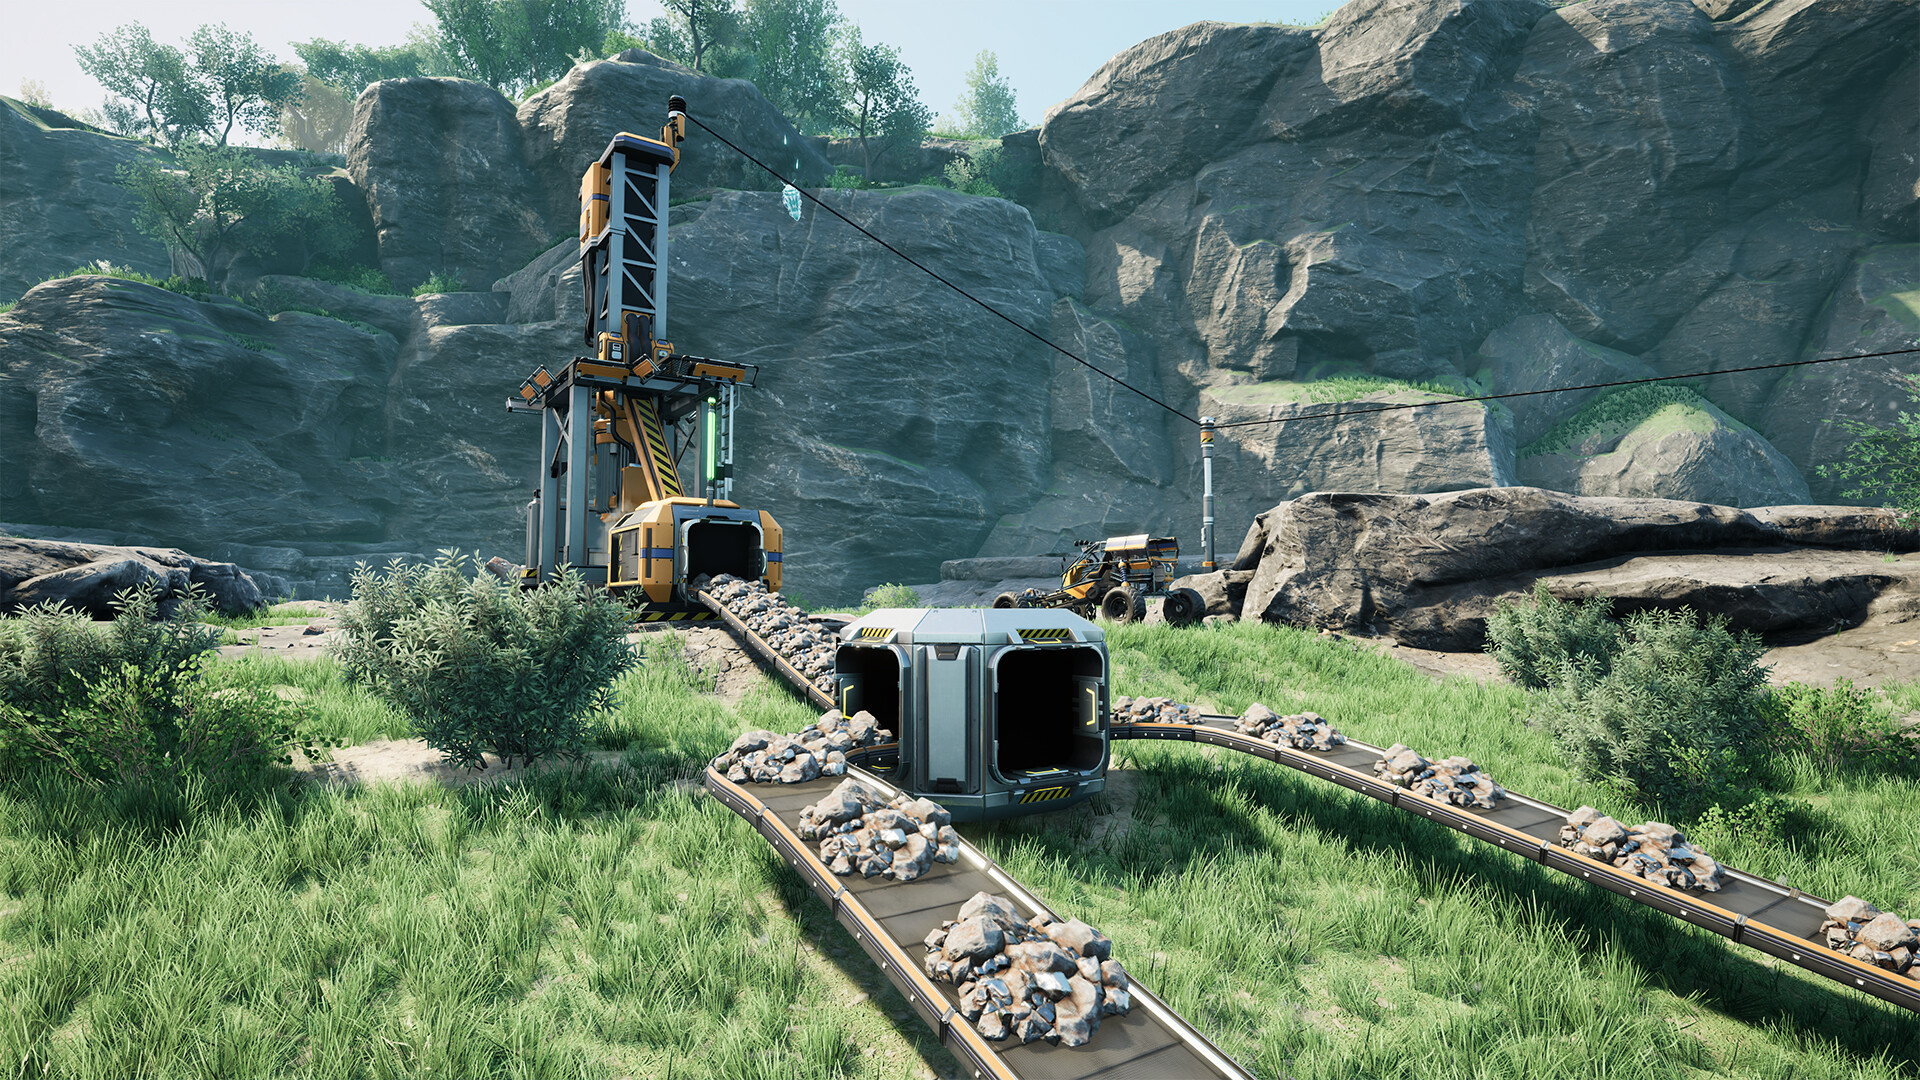
- I put the bus against a cliff. Modules could only go on one side. The factory was dead in ten hours.
- I ran ore on the bus. Half my throughput was carrying rocks around.
- I skipped foundations to "save time". I then spent four hours re-aligning belts by hand.
- I built modules at different depths, so nothing lined up and every extension needed custom belt routing.
§The short version
Foundations first. Four-tile centre spine. Parts on the bus, never ore. Modules perpendicular, identical depth, two-tile service gap, buffered inputs, smart splitters with overflow. Stack vertically instead of crossing belts.
Do that and Phase 4 is an afternoon of copy-paste instead of a demolition project.